
Potato starch, vegetable oil and water are my new found friends. No I haven’t gone on a frenzy diet of carbs, I am talking about wafer paper.
Wafer paper has hit the cake decorating industry by storm and I have to say I am one of the people that have been fascinated by the stuff.
If you haven’t heard of it… wafer paper comes in thin transparent sheets. When dry it is brittle and can crack easily, but if it gets wet it instantly dissolves. So you really need to find a happy medium.

I have been experimenting with wafer paper a lot and curiosity has got the better of me. I wanted to see if I could paint the wafer paper by directly applying gel colour to it- would it be too wet and make it dissolve? Turns out I was onto something!
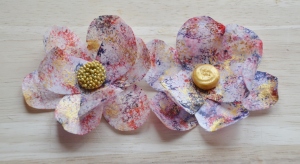
I made these little babies and I think they look stunning… you could use this technique on anything to do with wafer. To show you how easy it is, I have created this tutorial to show you how you can paint directly onto your wafer paper to get cool effects for any of your cakes!!
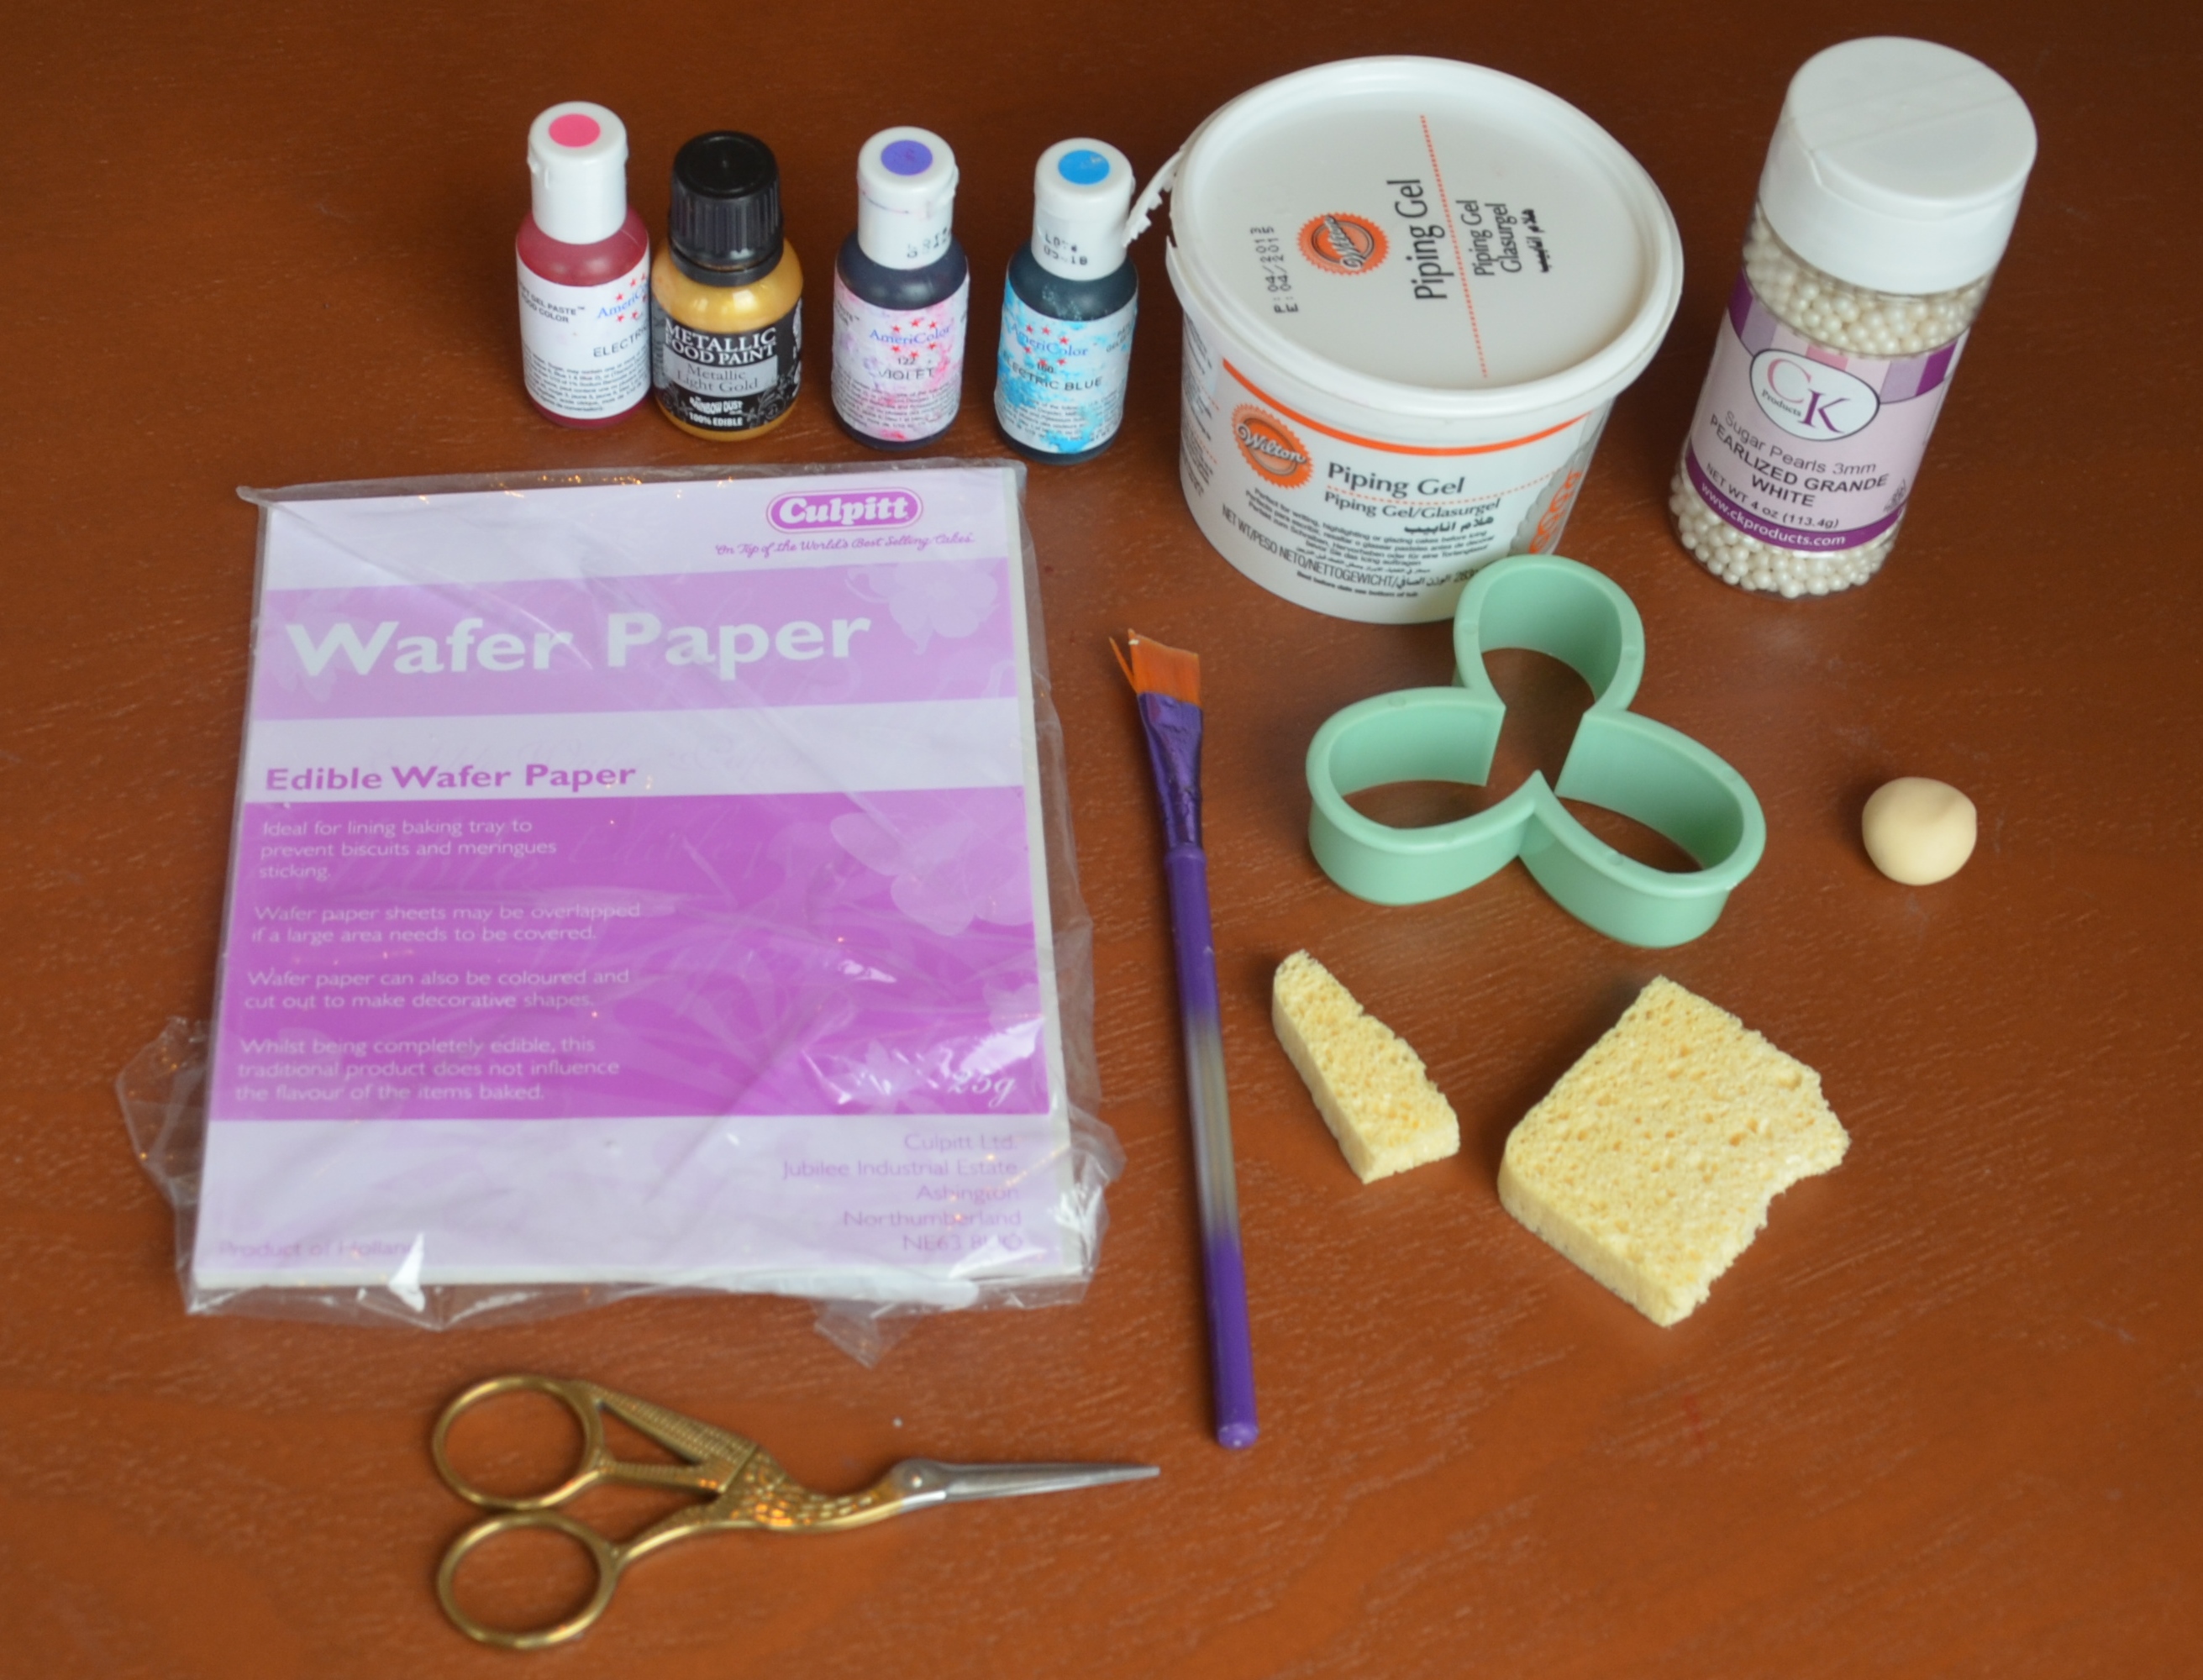
What you will need is:
- Wafer paper (really who would have thought)
- A flower cutter of your choice
- A small piece of sponge
- Gel colours of your choice
- A paint brush
- A small piece of fondant- it can be any colour o suit your flower
- Piping gel.
To start off your flower use your cutter and press it into the wafer paper, firmly but gently. If you do it too hard you’ll crack the paper. I have chosen to do three layers for my flower so have impressed the pattern three times on the wafer.


Now it’s hard to photograph, but by doing this the outline of the flower will be indented in the paper.
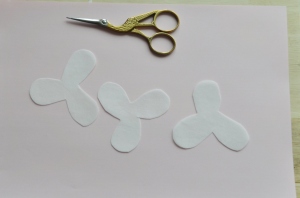
Using the line as a guide cut out your three flower shapes. Don’t be too concerned if they are not perfect or a little rough around the edges, we all know that’s what defines and makes flowers special.
Once you have your shapes, lay them on a piece of paper ready for painting.
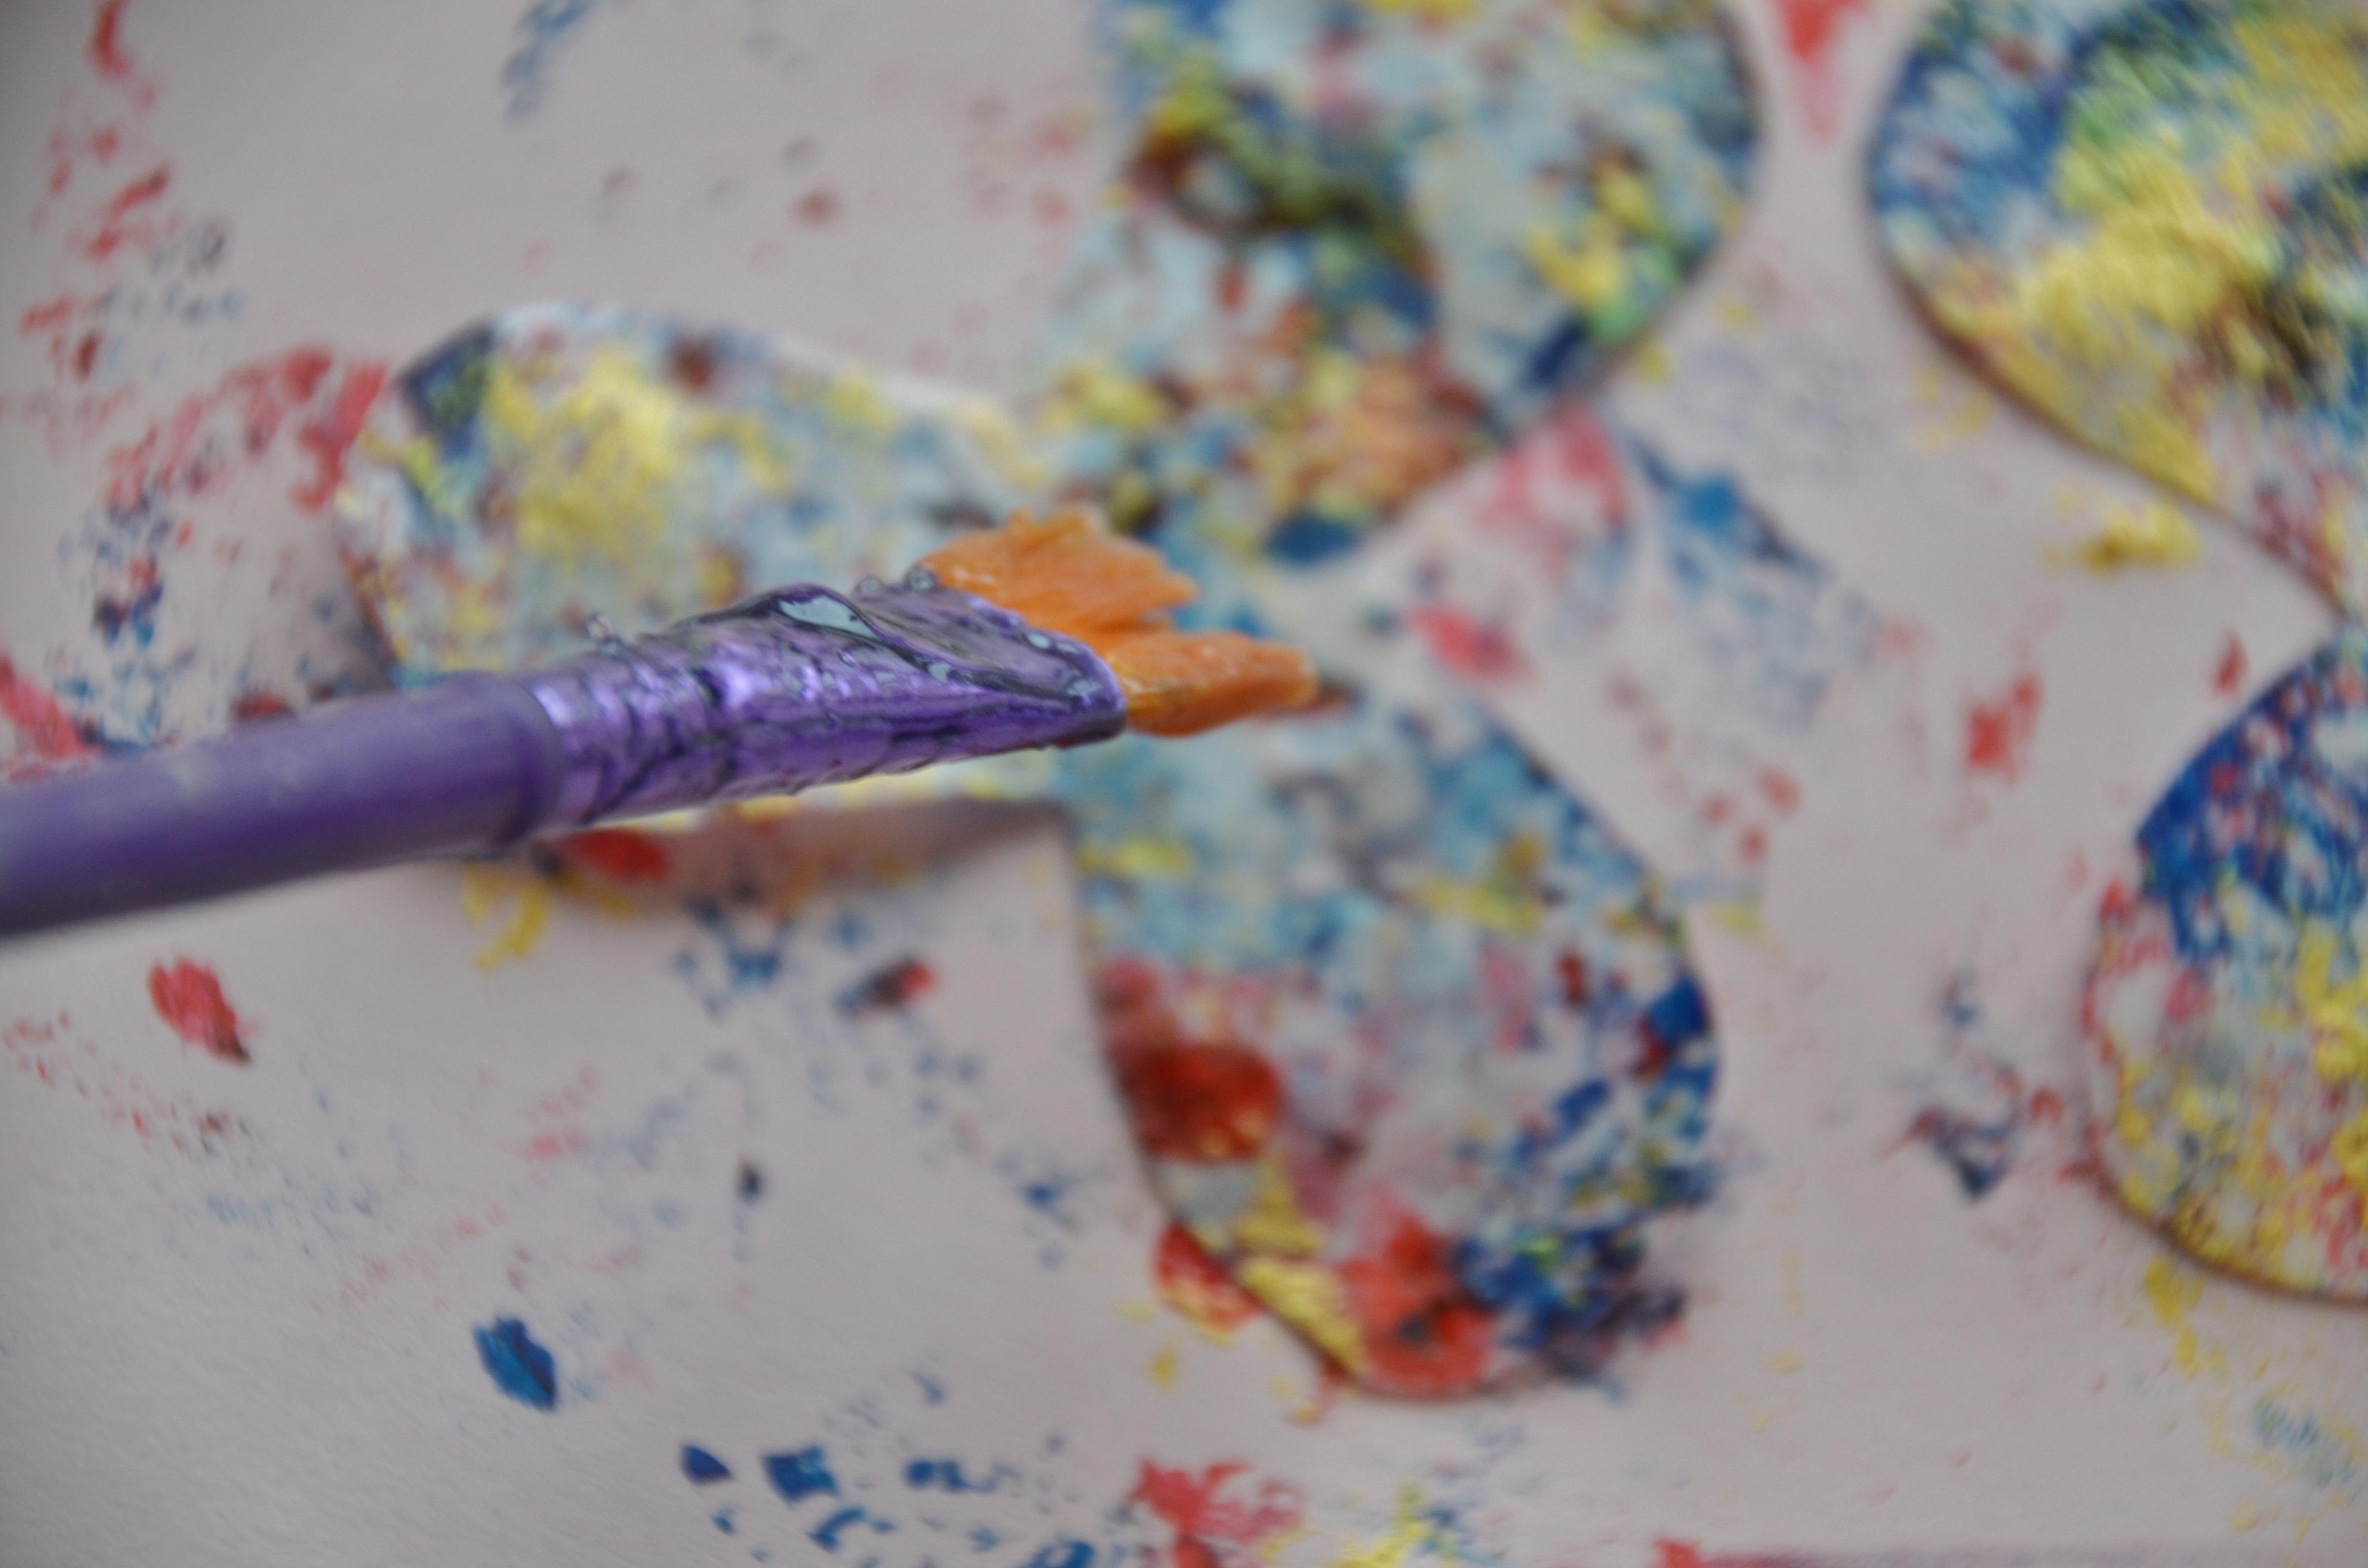
Choose two (or more) colours that you would like to use and pop a dot of each colour on a plate- DO NOT ADD ANYTHING TO THE COLOUR, if you use a thinner your wafer will dissolve.
Cover your sponge alternating the colours, this is how you will get your mottled effect. Be sure it’s a thin layer on the sponge. You don’t want to overload it because too much gel paste will also dissolve the wafer.

Lightly press your sponge onto the wafer randomly, flip them gently and do the same on the back.

To bring out the flower and give it a little personality I decided to add some gold highlights. Add some gold to your smaller sponge and gently press it onto the wafer as you did for the other colours in the previous step.

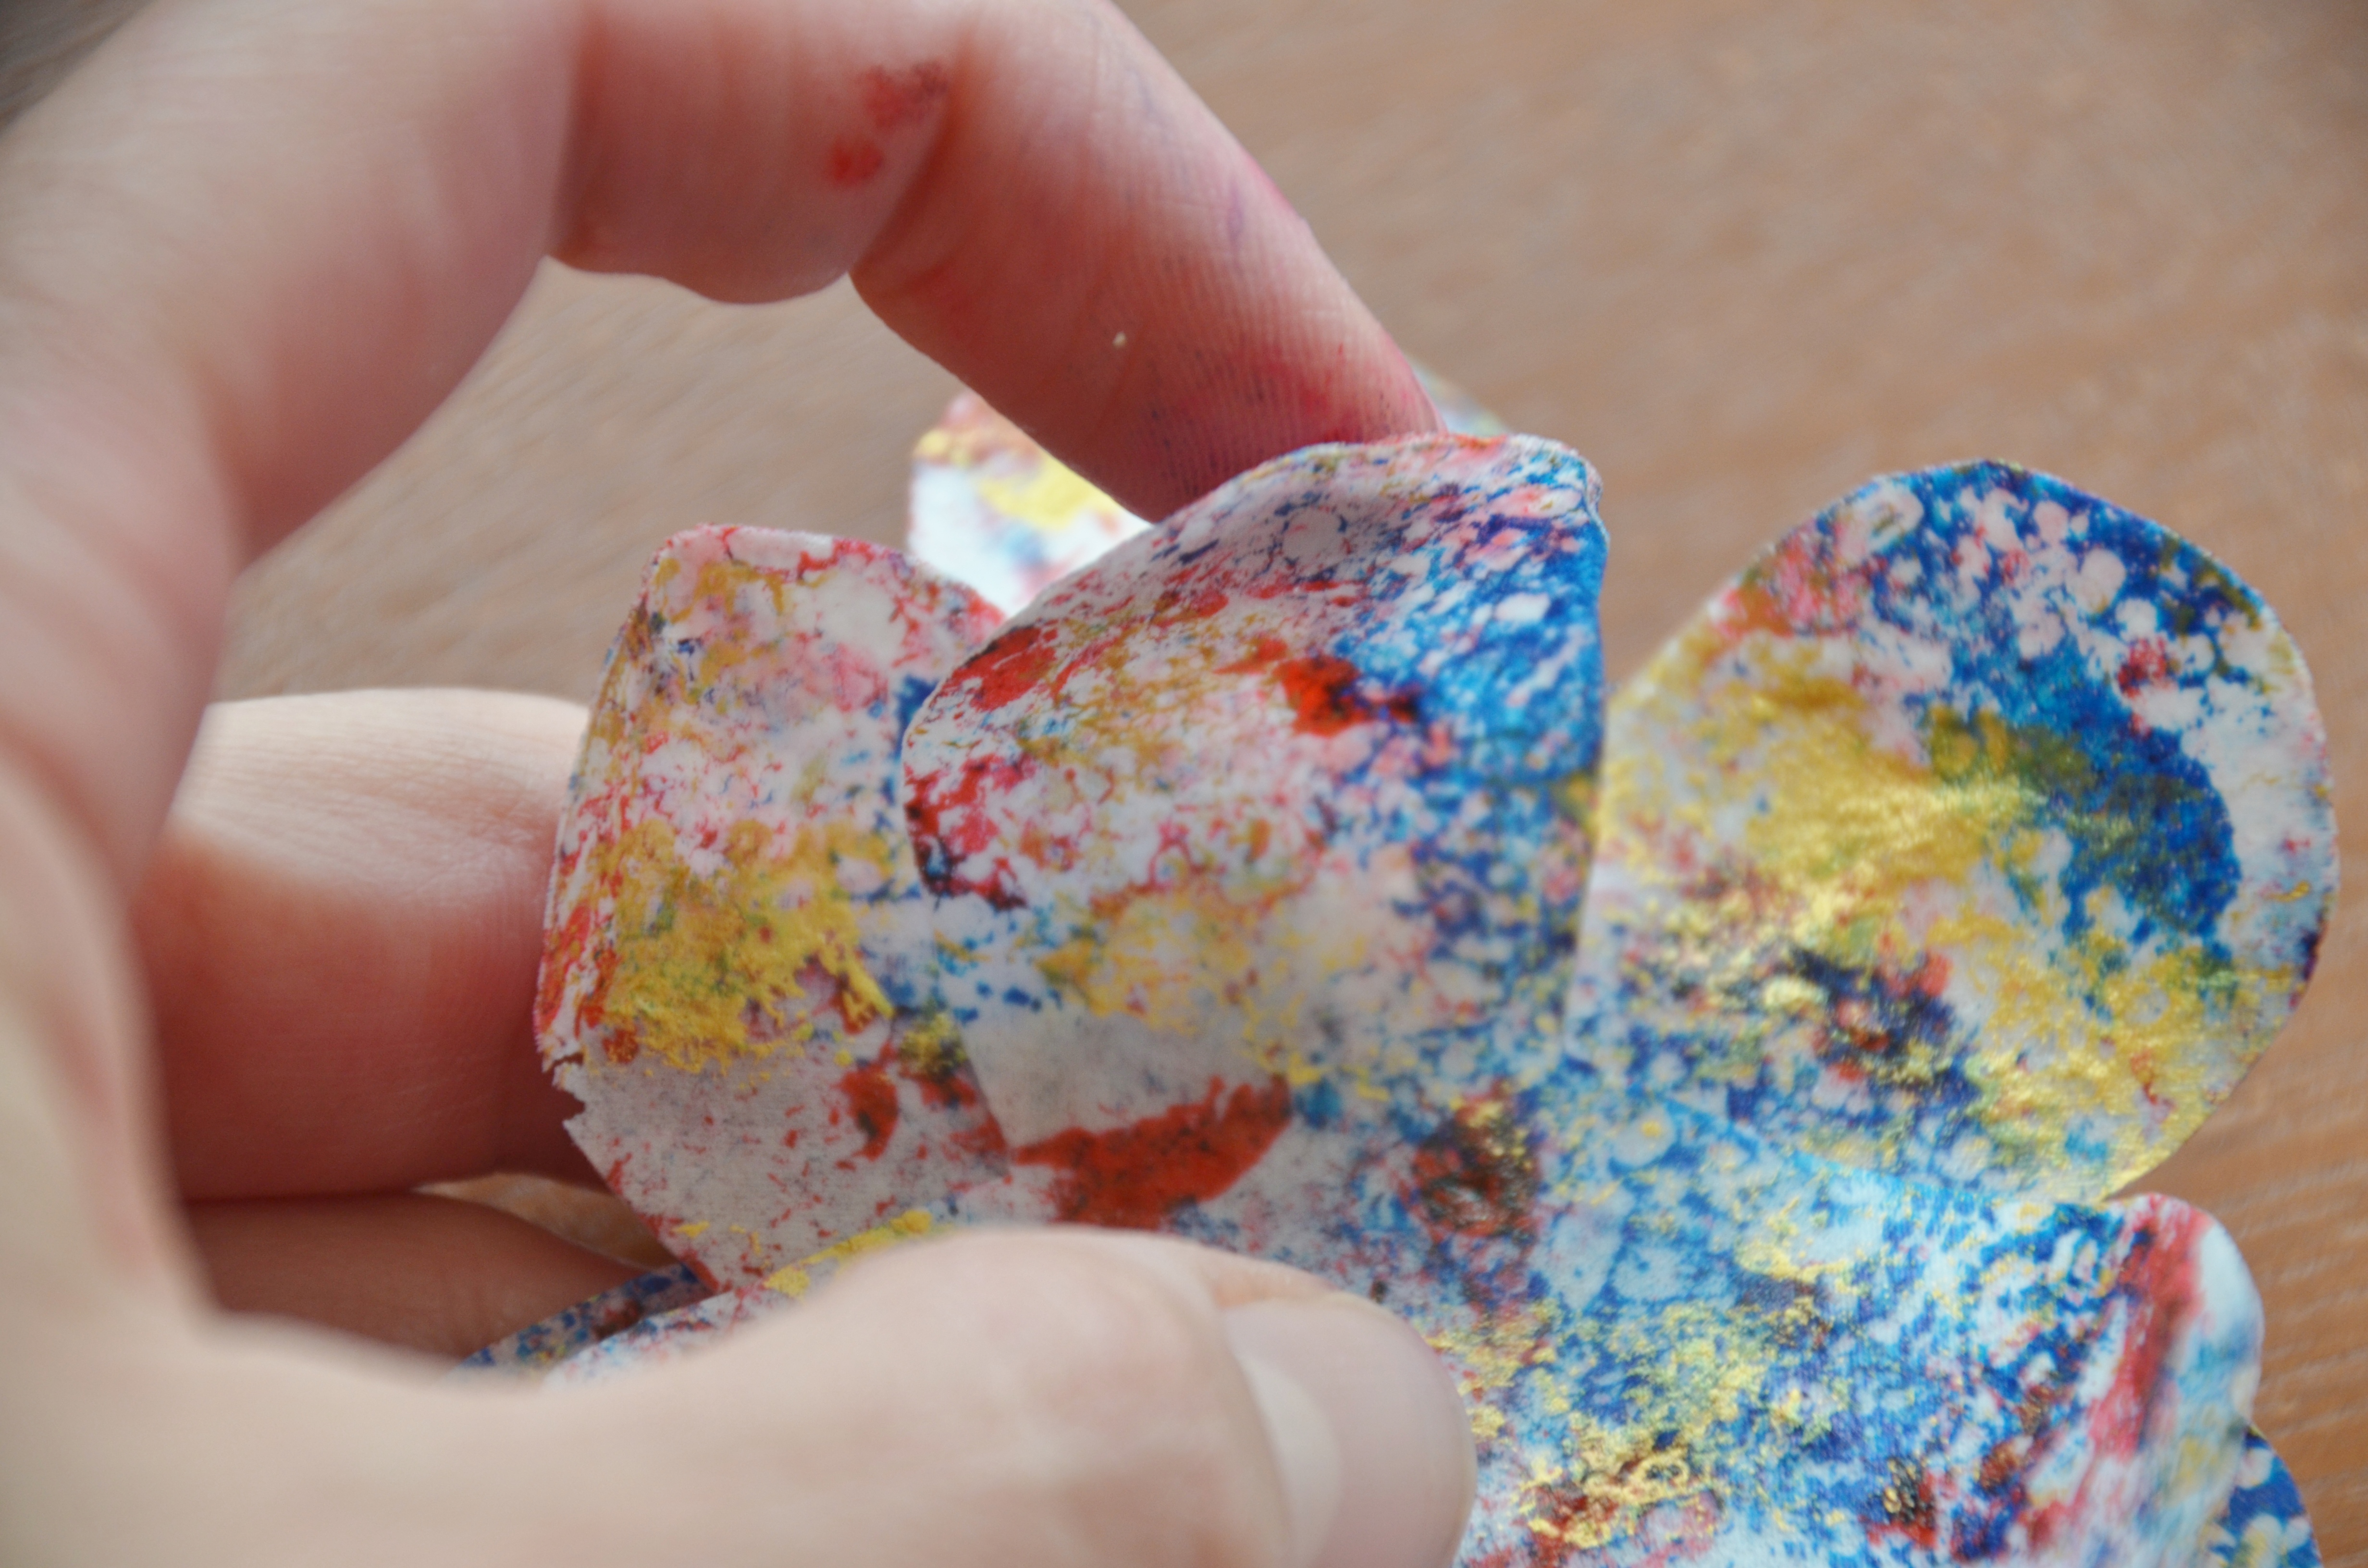
To assemble your flower, on your paintbrush get a tiny amount of piping gel and brush lightly in the centre. Place your second layer on. Repeat this step to place the third layer on top.
Because the gel paste adds slight moisture to the wafer paper, it will make it flexible. Give your petals a slight roll inward to create movement in your flower.
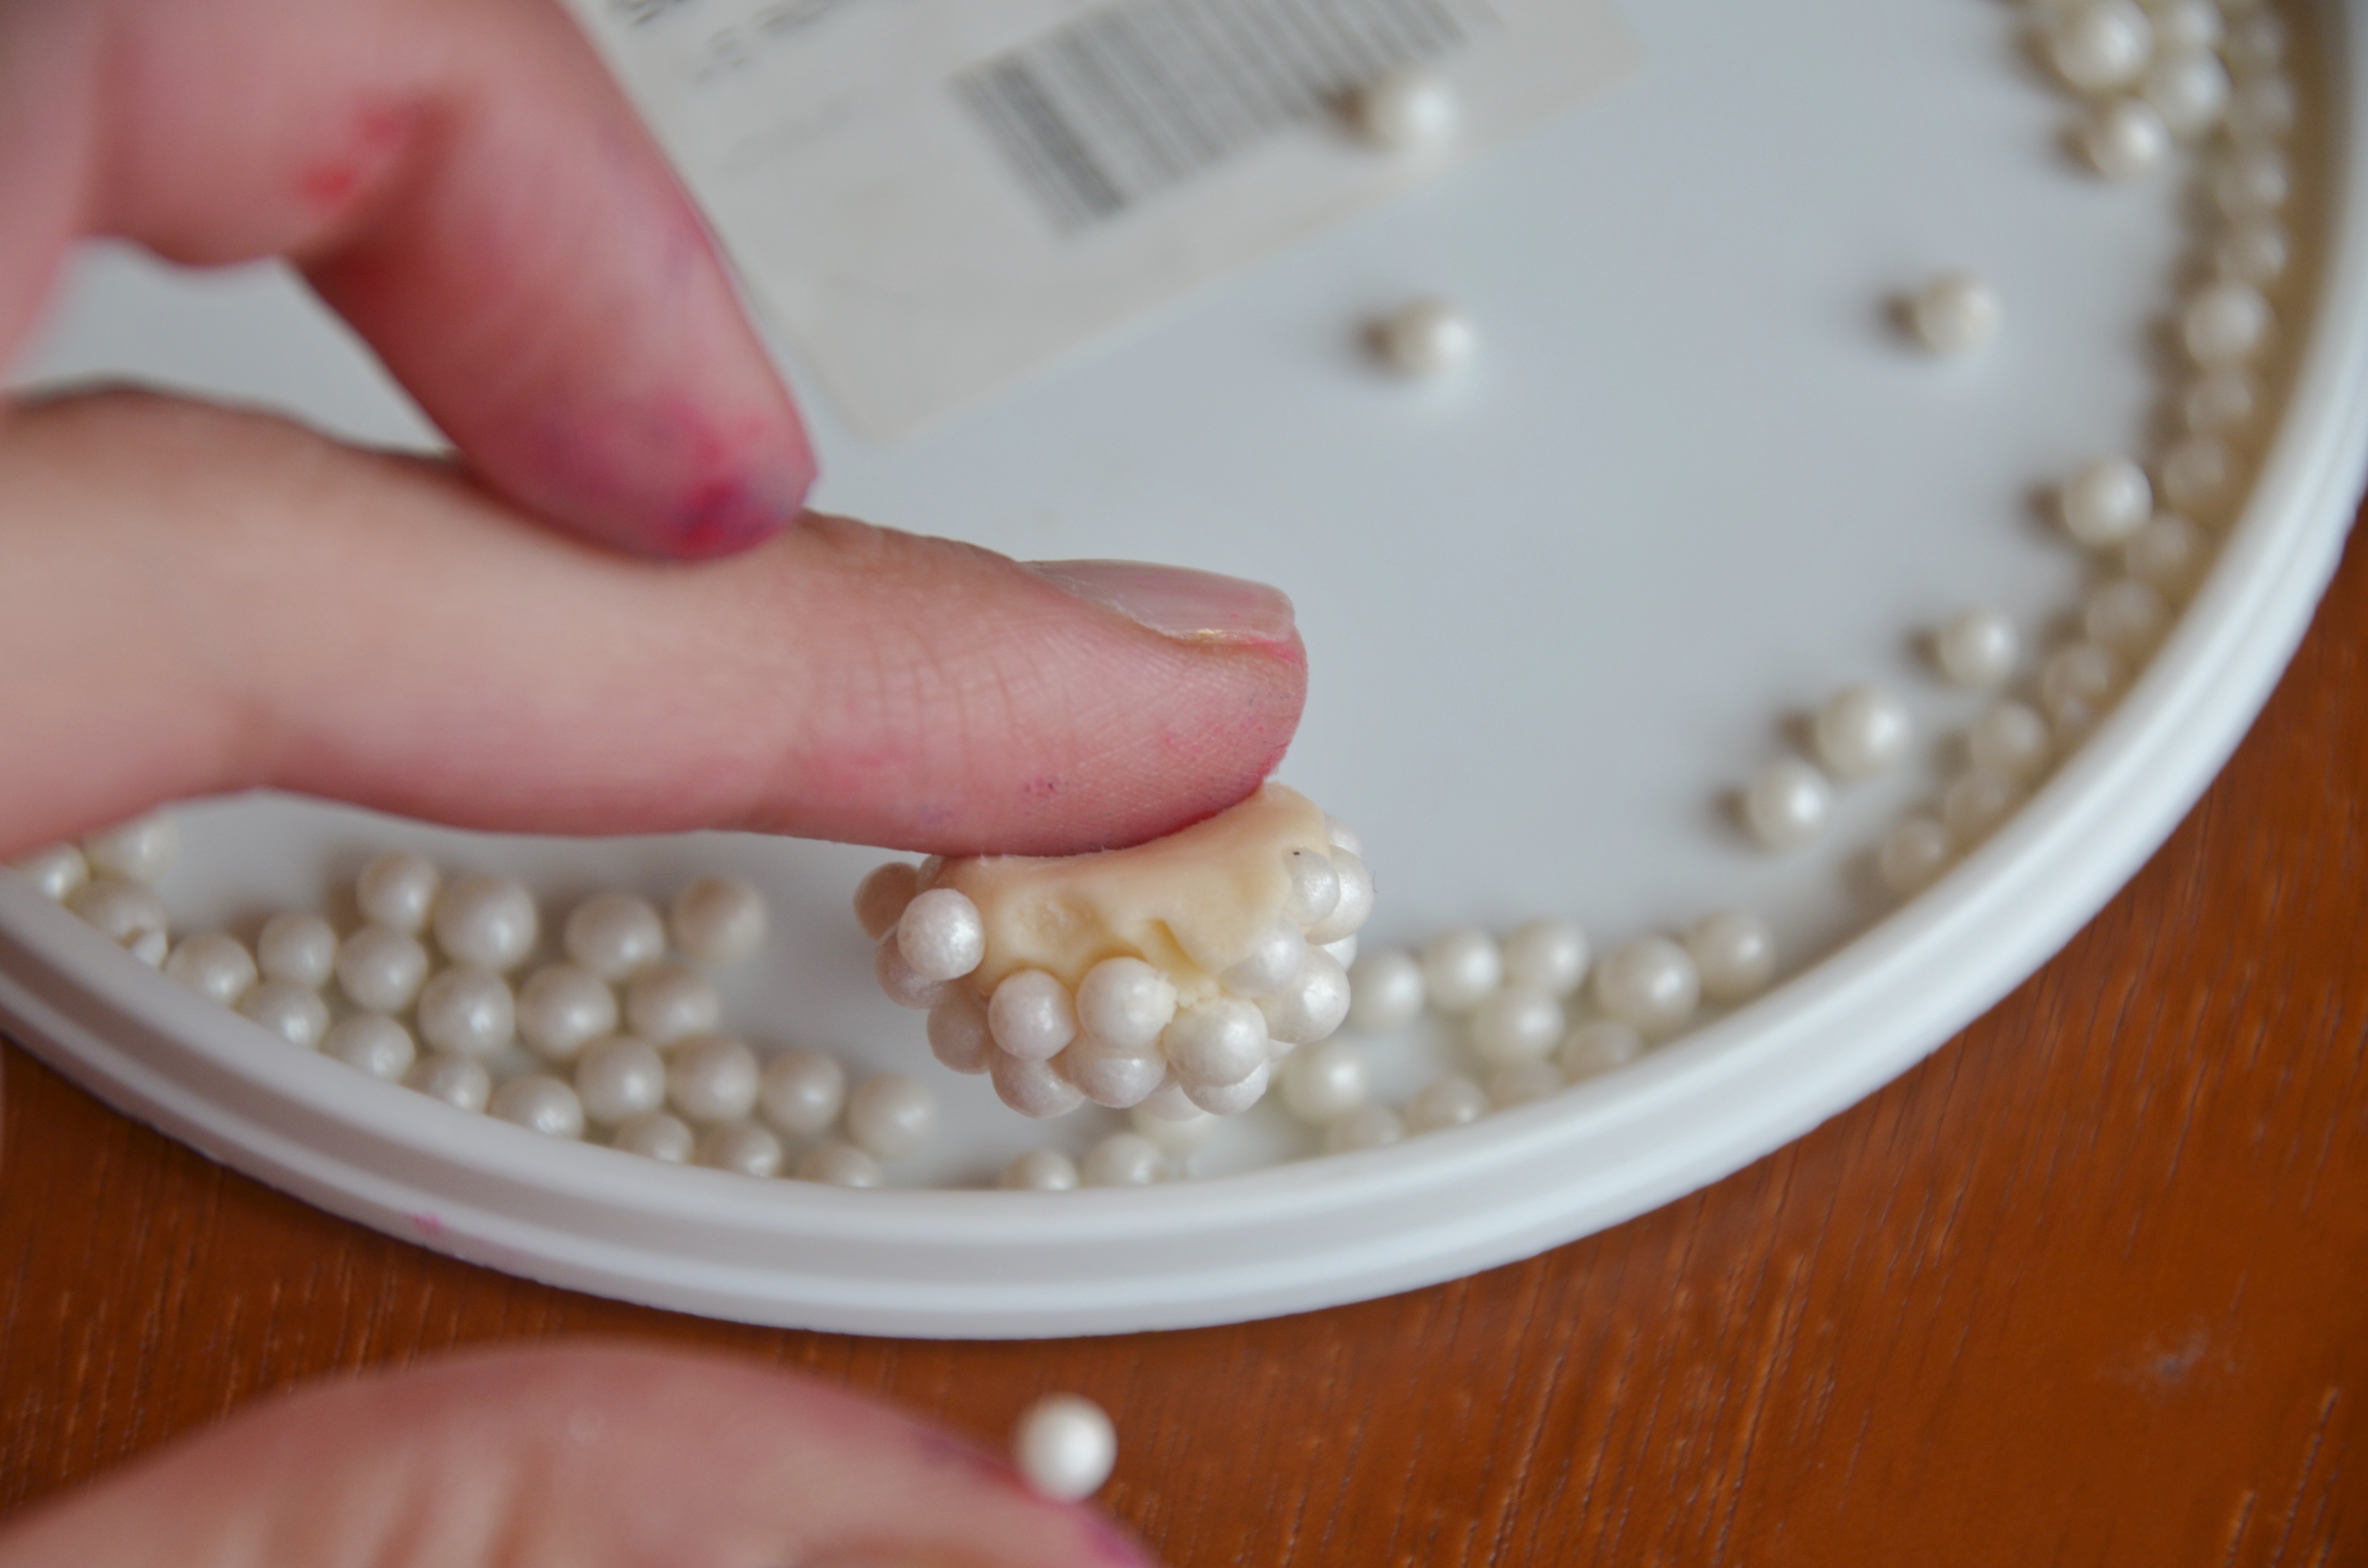
Create a centre for your flower by rolling a small amount of fondant. I have decided to bejewel this one with some white pearls, which I have attached with piping gel. Depending on the look you are going for you could simply paint it or leave your fondant plain.

Attach your centre with another dot of piping gel and there you have it your personally designed wafer paper flowers. I can imagine these gorgeously flowing down the side of a cake.
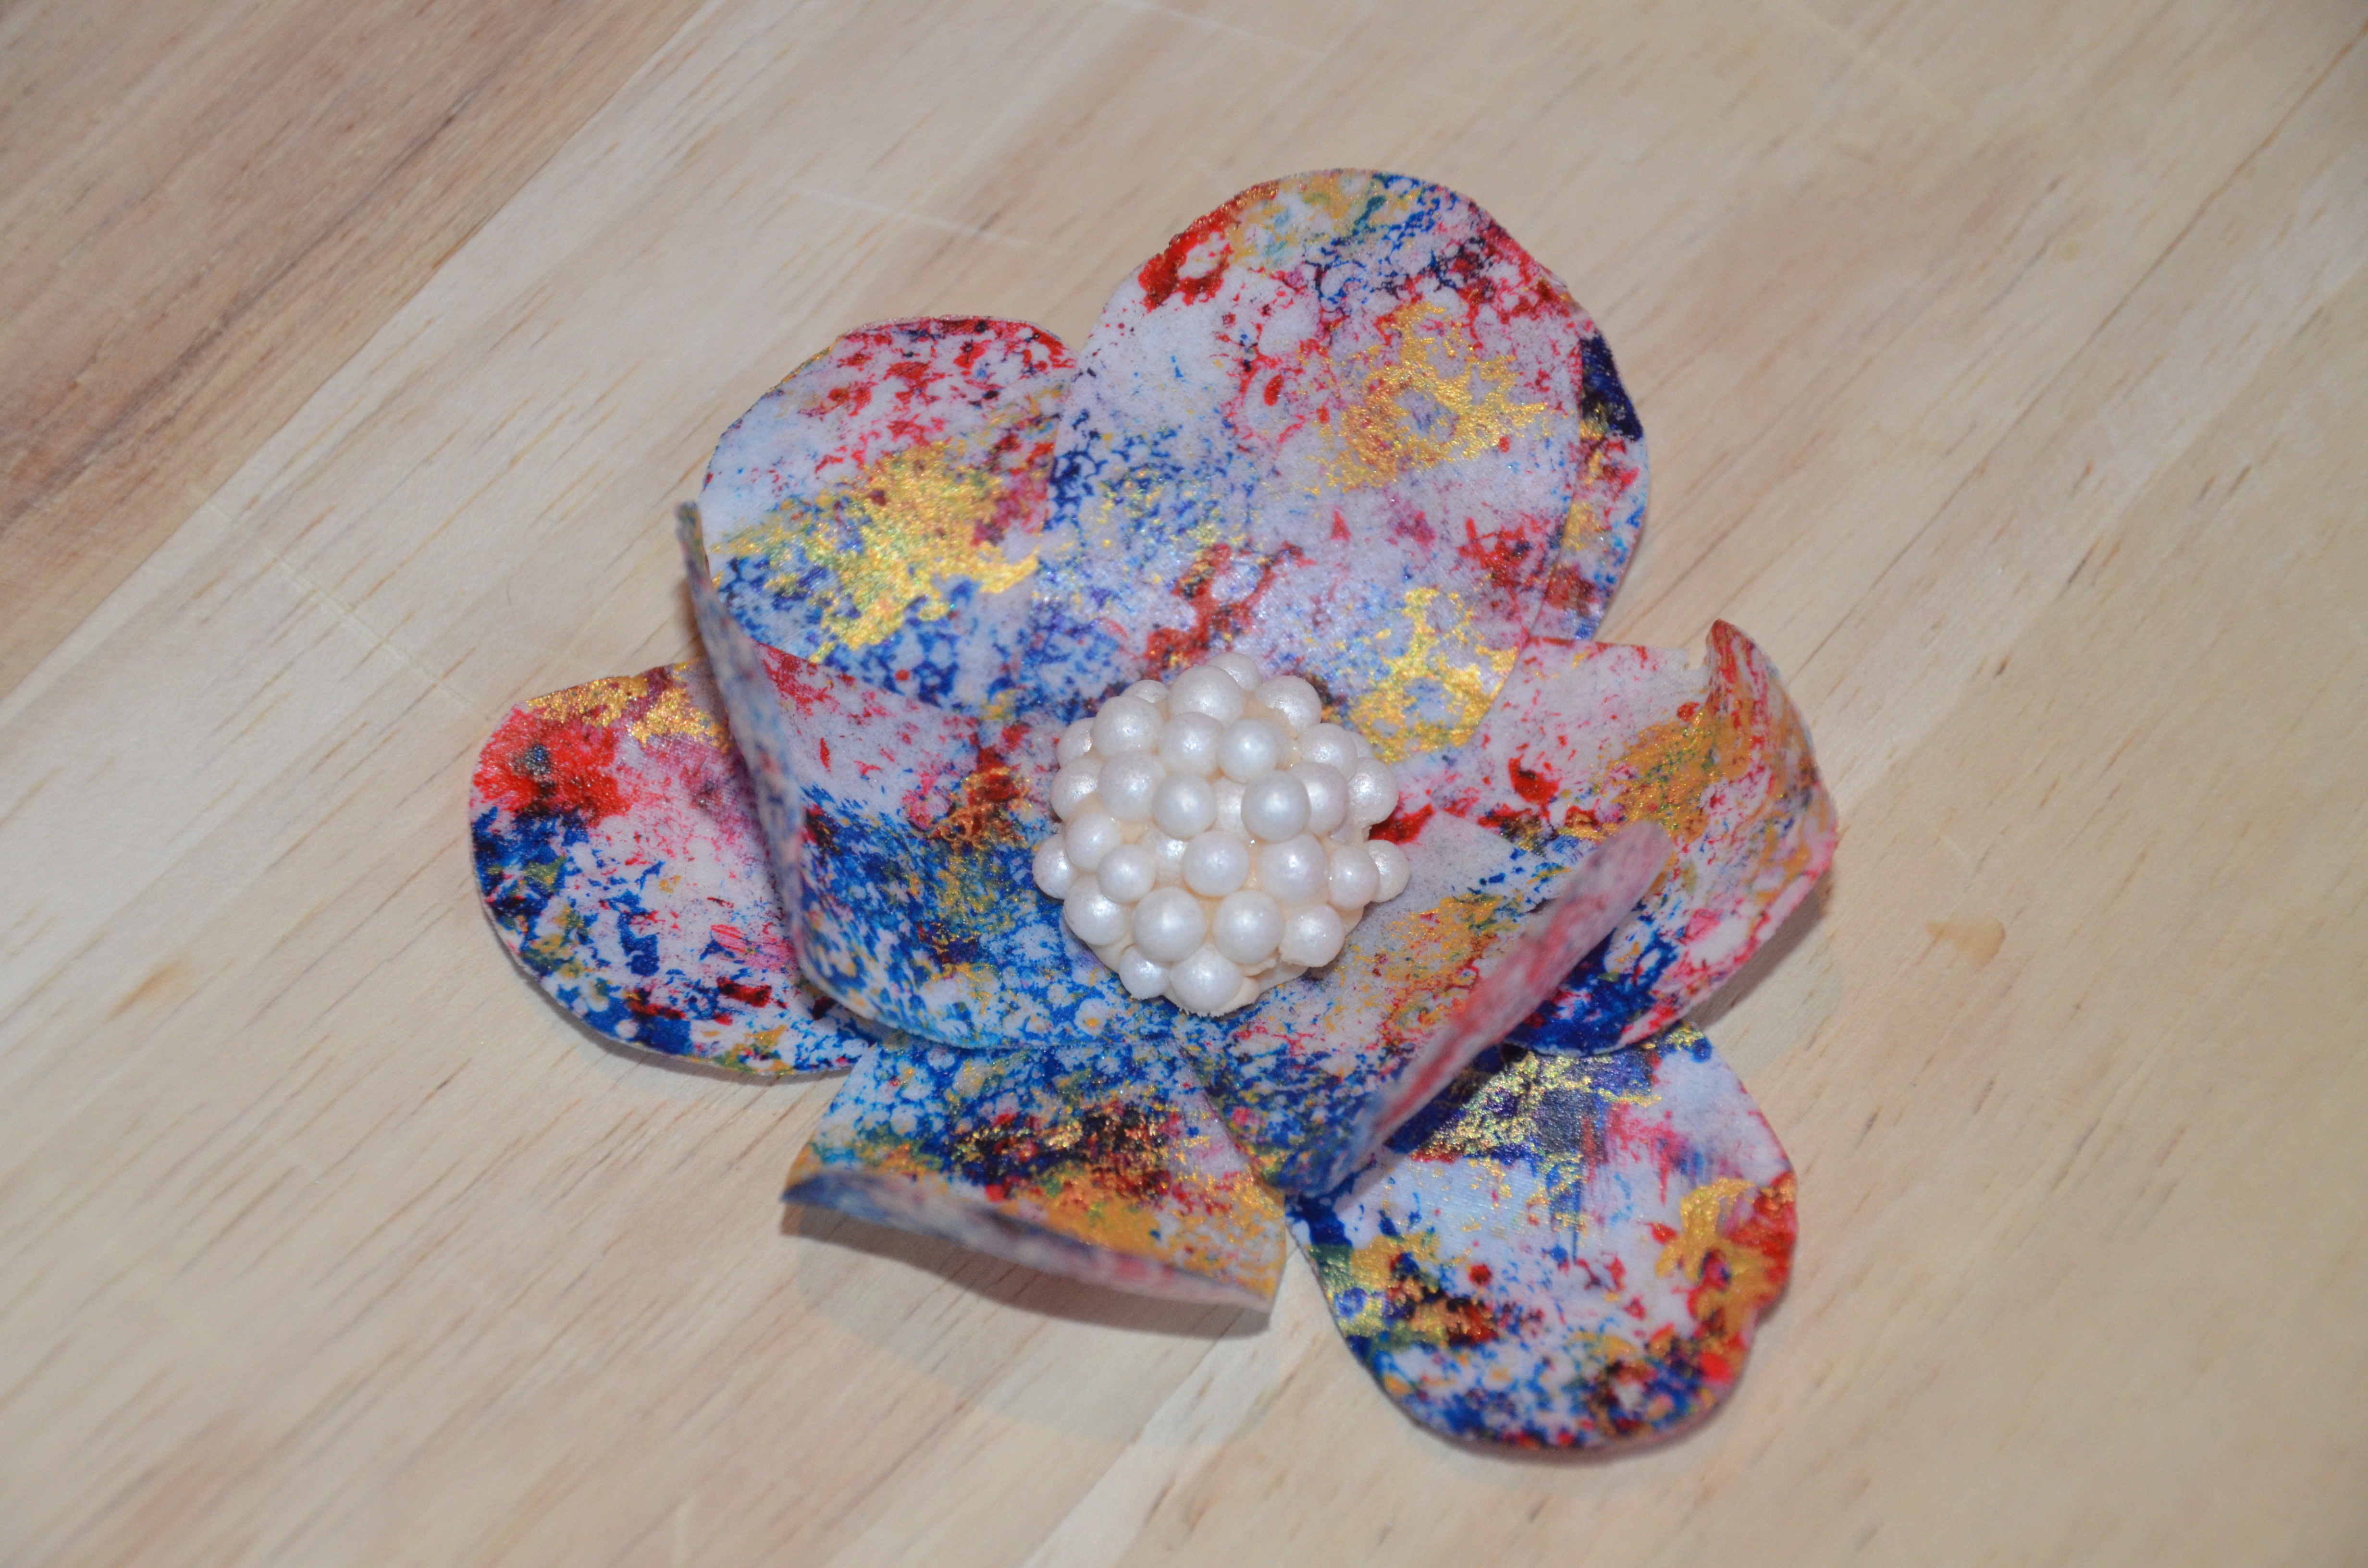
The best part is they don’t take long to make and unlike fondant and gumpaste flowers there’s no drying time.
To attach your flower to a cake, using a little piping gel.

Try your hand at wafer paper and see what creations your can come up with!
This is an original design by Marianna's Caking Me Crazy © all rights reserved 3rd May 2014
Check out what else Marianna’s Caking Me Crazy is up to on Facebook:
mariannacakingmecrazy@gmail.com
https://www.facebook.com/MariannasCakingMeCrazy
http://www.pinterest.com/cakingmecrazy/boards/
No comments:
Post a Comment